
This project focuses on two point perspective. You will learn the rules of 2pt perspective and then apply them to your own assignment.
20 pts. - Boxes and Notes
20 pts. - House/buildings Drawing
20 pts. - Interior Room Drawing
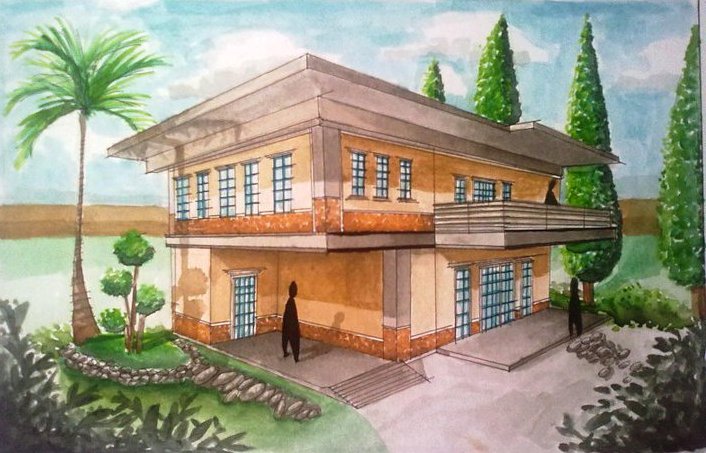
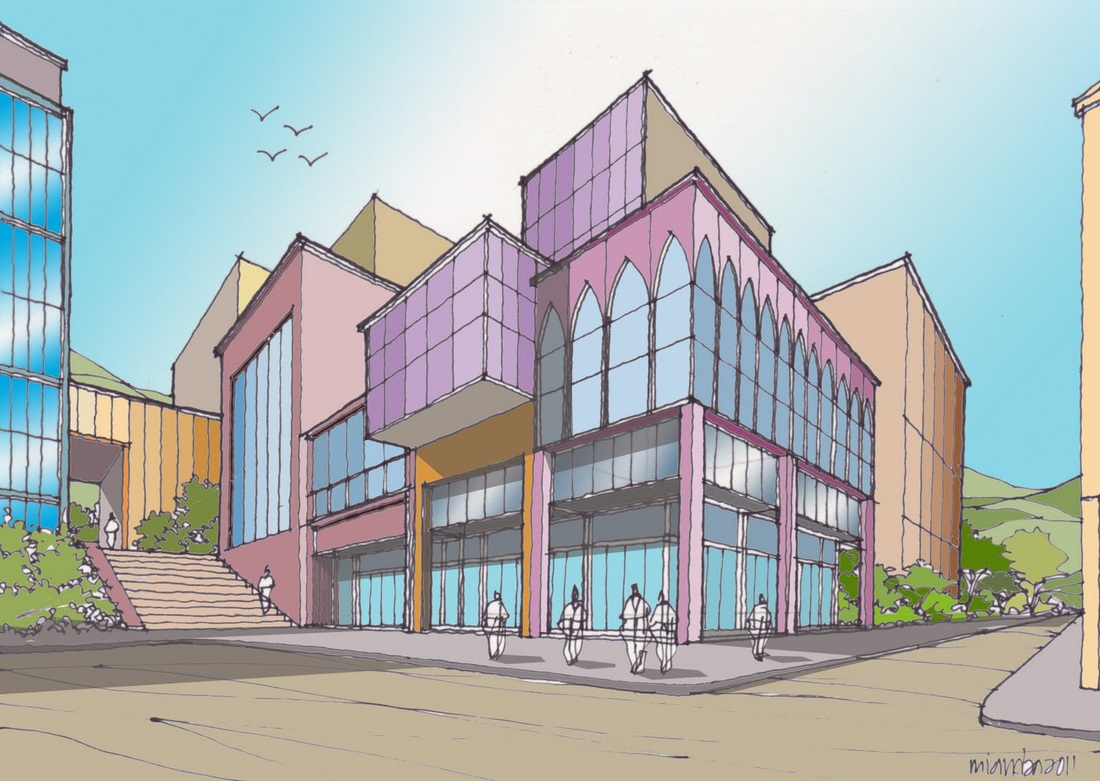
40 pts - Final drawing (your choice)
20 pts. - Boxes and Notes
20 pts. - House/buildings Drawing
20 pts. - Interior Room Drawing
40 pts - Final drawing (your choice)
Practice #1 --- Basic Cube shapes in 2pt.
In the second activity
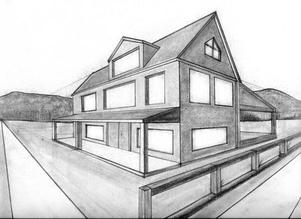
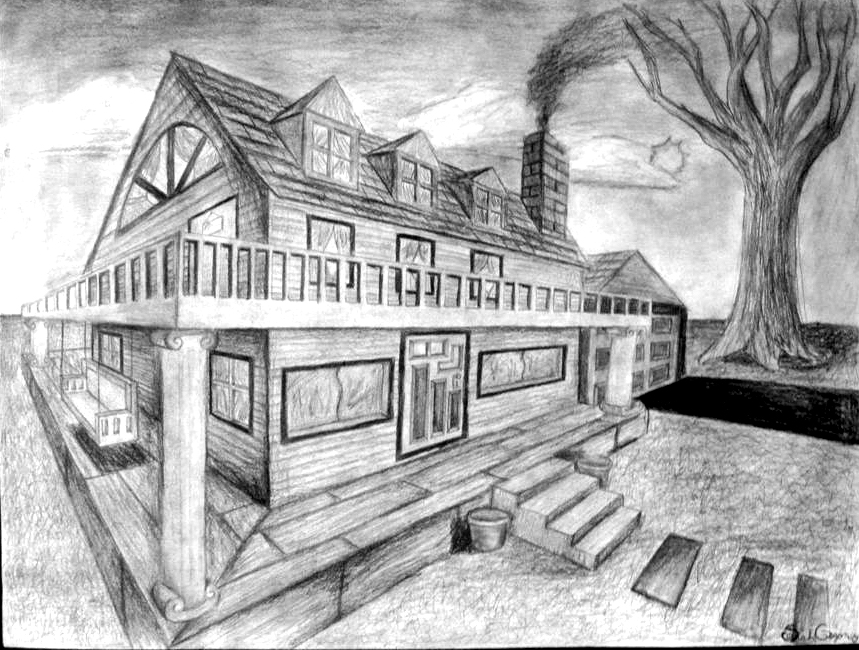
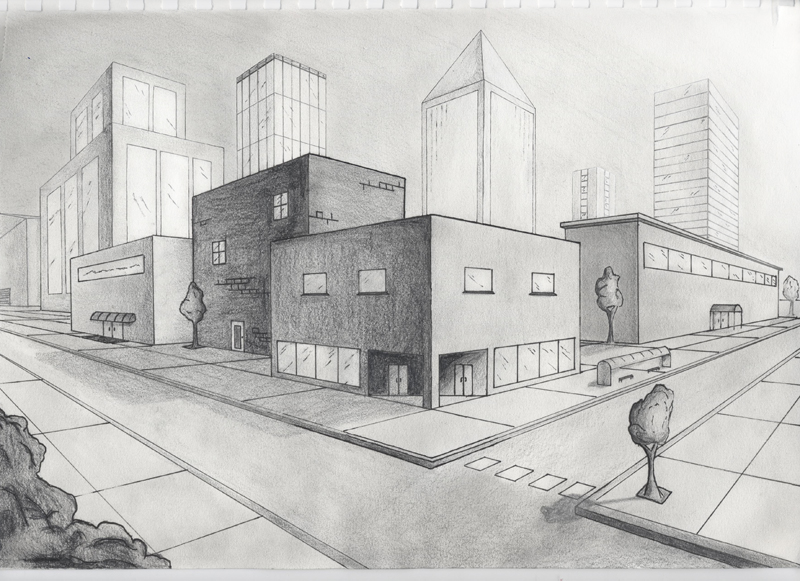
Practice #2 --- House or City
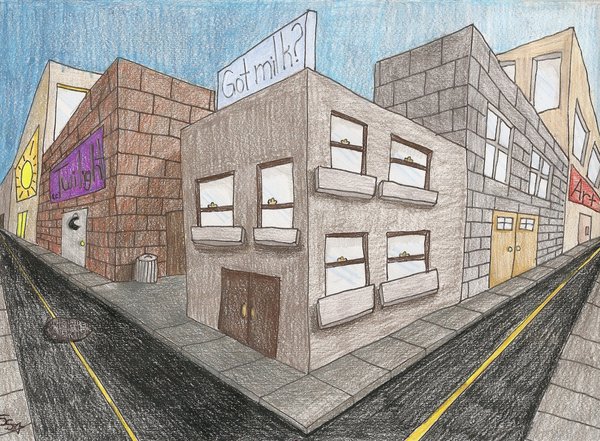
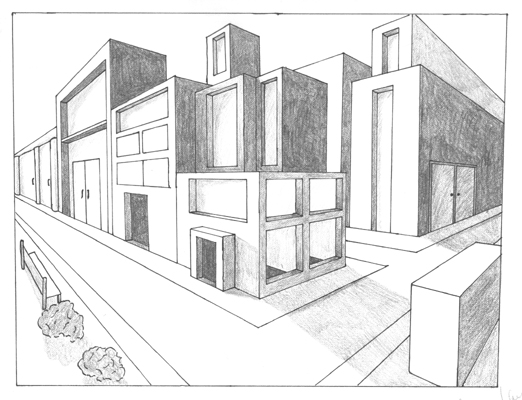
In this second activity we are learning to create a house (or building or city) in 2 point. Take your time to figure out the appropriate place for the horizon line (eye level). Work to create the basic structure of boxes first then continue to build up more details to make it look like a house/building.
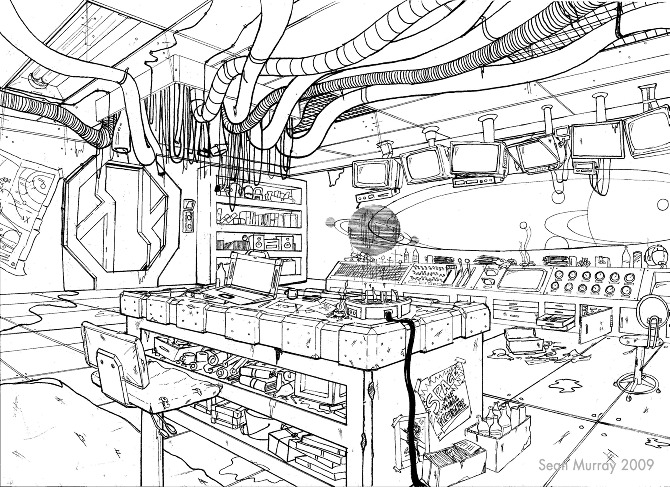
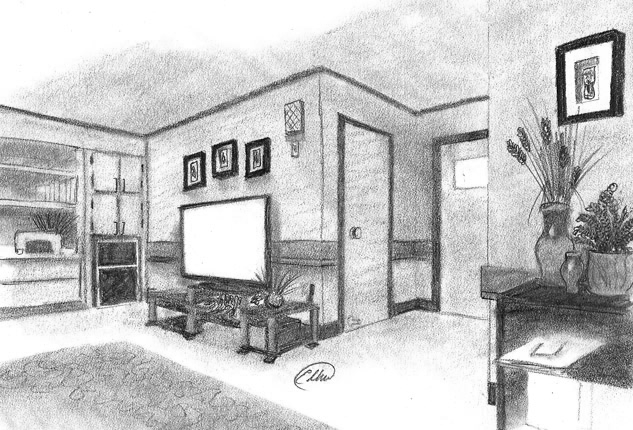
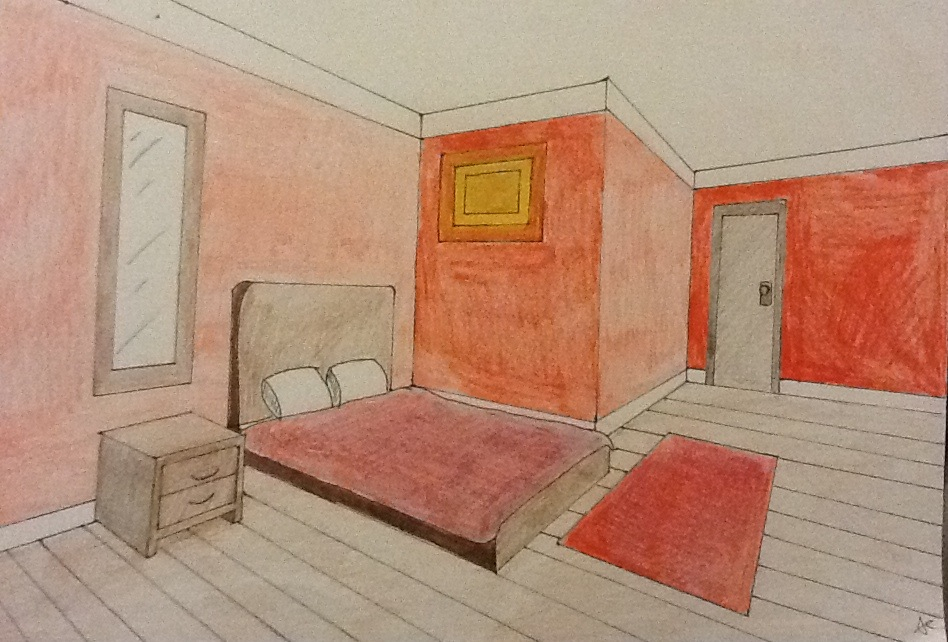
Practice #3 --- Interior Room Drawing
Now we go inside the house. Learn how the 2 point perspective rules are applied in an interior space. This is not the easiest tutorial to follow, but its what you get if you missed class... feel free to search youtube for another.


 RSS Feed
